
Indigo smart homes are...
Multiprotocol
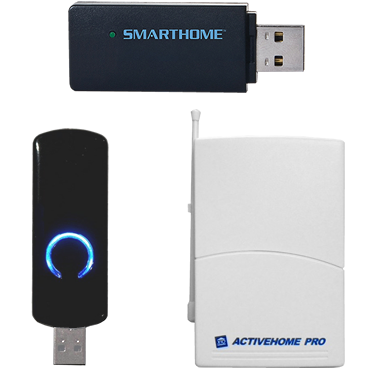
Out of the box, Indigo supports hundreds of different Z‑Wave, Insteon, and X10. Simultaneously.

Expandable
Hundreds of 3rd party plugins make Indigo one of the most expandable smart home platforms available.
Powerful
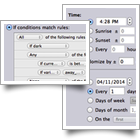
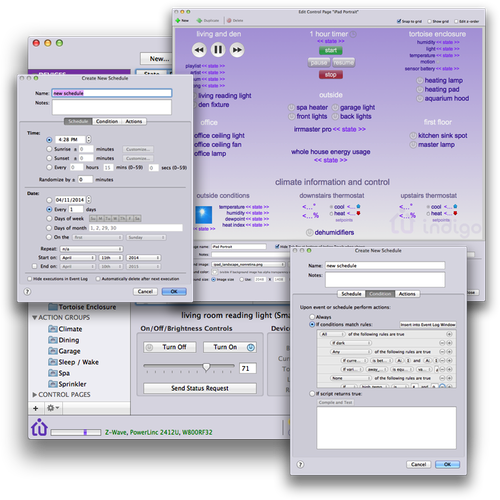
Advanced features, like complex conditions and advanced scheduling, are presented in an intuitive interface.
Multiple protocols.
Active simultaneously.
Indigo supports hundreds of different smart home devices using popular do-it-yourself automation protocols like Z-Wave, Insteon, and X10, right out of the box. Just select the hardware interfaces of your choice and start adding devices. Pick the best smart device for the task, without being locked into one protocol. Use in any combination or all at the same time. Indigo integrates them seamlessly. Included with Indigo are also options for obtaining weather data, iCal integration, relay cards, timers, notifications, etc.

Infinitely expandable.
Hundreds of plugins and counting.
If the built-in protocols don't support a device or service you want to integrate, there's probably a 3rd party plugin in the Plugin Store that will. There are plugins that integrate security systems, weather data, home theater components, energy monitoring devices, sprinklers, thermostats, and many other devices and services. Plugins can also supply events, such as data and notifications from incoming services and actions like sending push notifications and custom device controls. Amazon Alexa and Apple Siri support are also available using 3rd party plugins.
Amazingly Powerful.
Industry leading advanced features.
Custom graphical control pages allow you to design the perfect user interface. Comprehensive scheduling and triggering features support very complex logic, letting you step beyond home control and into intelligent smart home automation. Hierarchical conditions allow you to fine-tune your system. And these features are configured using an intuitive user interface. For really advanced functionality, scripting via the industry standard Python language enables limitless possibilities.
Features
The Indigo Smart Home Software platform has the broadest feature set of any do-it-yourself solution in its class. Here is a just a taste of what Indigo offers.
Devices
Triggers (Events)
Schedules
Actions and Action Groups
Control Pages
Variables
Indigo Touch for iOS
Indigo Touch for the Web
Secure Internet Access
Company Information
About Us
Mission
The mission of Indigo Domotics is to provide the most advanced do-it-yourself (DIY) smart home platform available. We believe that sophisticated smart home automation shouldn't be restricted to the expensive professionally installed market. Instead, we work very hard to balance ease-of-use with advanced capabilities. Our goal for Indigo is to integrate the various automation protocols and the Internet of Things (IoT) into a single synergistic platform.
History
We have been in business since 2002 providing smart home software for the Mac. The Indigo software platform has been the primary product for the life of the company and has steadily become the most reliable and expandable product in the DIY market on any platform.
The Team
The company was originally founded by Matt Bendiksen. Matt has over 24 years of professional software development experience. Formerly, Matt was a Director of Engineering at Macromedia, Inc. While at Macromedia Matt led teams of Macintosh and Windows software engineers in the successful development of commercial software currently used by millions of design professionals. Matt is also the primary inventor on United States Patent No. 6,373,490.
In 2008, Jay Martin joined Indigo Domotics. Jay has over 27 years of industry experience, most recently as Vice President of Engineering at CyberSource Corporation (now a Visa company). CyberSource was one of the first e-commerce payment companies, processing billions of transactions and still has best-in-class fraud management tools for which Jay was primarily responsible. At CyberSource, Jay built and led a world-class engineering team that delivered high availability systems with intuitive web-based management tools.
Contact Us
Use the form below to contact us directly.
This is not the IndiGo travel or the Indigo Credit Card websites. We will ignore any contact submissions for them.